How to Create a Photography Studio Website with WordPress

Are you planning to create a photography studio website?
Any expert photographer needs a website, but with WordPress, building one has always been challenging.
We’ll teach you how to make a photography studio website that will help you showcase your work, connect with prospective clients, and grow your business.
How to Create a Photography Studio Website with WordPress (Step-by-Step)
Here are the steps to create a photography studio website using WordPress.
Step 1: Select A Hosting Provider And Register A Domain Name.
Two major tasks involved in building a website are choosing a hosting company and purchasing a domain.
The domain name is a unique address that enables users to access the website, and the hosting service offers a location to store the website files on a server.
There are various hosting companies to select from, but when factors like cost, dependability, and customer service are considered, we suggest choosing Kinsta as the hosting company.

Why Choose Kinsta?
- Kinsta provides fully managed WordPress hosting, which means they handle technical details like server maintenance, security, backups, and updates, allowing users to focus on their website content and business.
- Kinsta provides automatic daily backups of your website, ensuring your data is secure and easily recoverable during a mishap.
- Kinsta enables users to quickly scale their website resources in response to traffic spikes without downtime or disruption to website performance.
- Kinsta has a team of WordPress experts available 24 hours a day, 7 days a week, to provide prompt support and quickly resolve any issues.
All these features make Kinsta the ideal choice for hosting your WordPress-based photography studio website.
Step 2: Install WordPress
The next stage is to install WordPress on your server after selecting a hosting company and a domain name for your website. Fortunately, many hosting companies offer a straightforward procedure to quickly and instantly install WordPress.
Kinsta comes with a one-click installation process that enables easy installation of WordPress.
Step 3: Install Responsive Theme
The design of your website can affect how visitors feel about it. WordPress offers a wide variety of designs from which to choose for your website. Choosing the appropriate style is crucial because it impacts your website’s functions and looks.
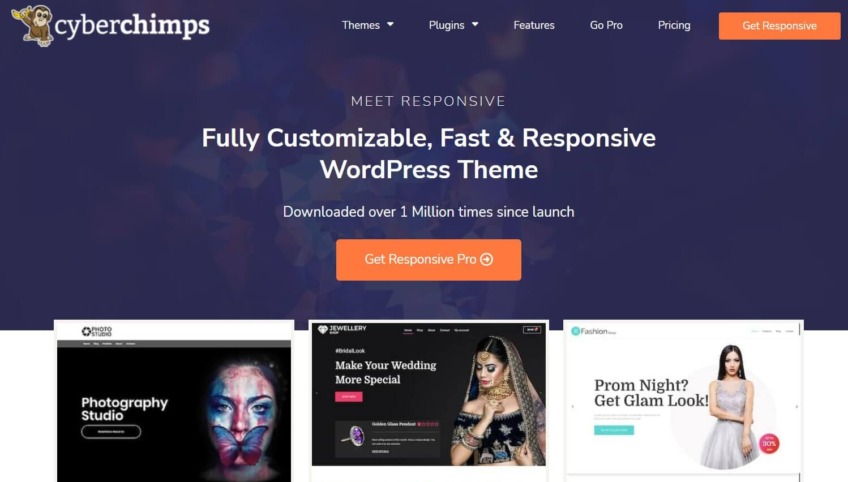
Responsive theme is a popular and versatile theme perfect for creating photography studio websites
Here’s how you can install Responsive Theme:
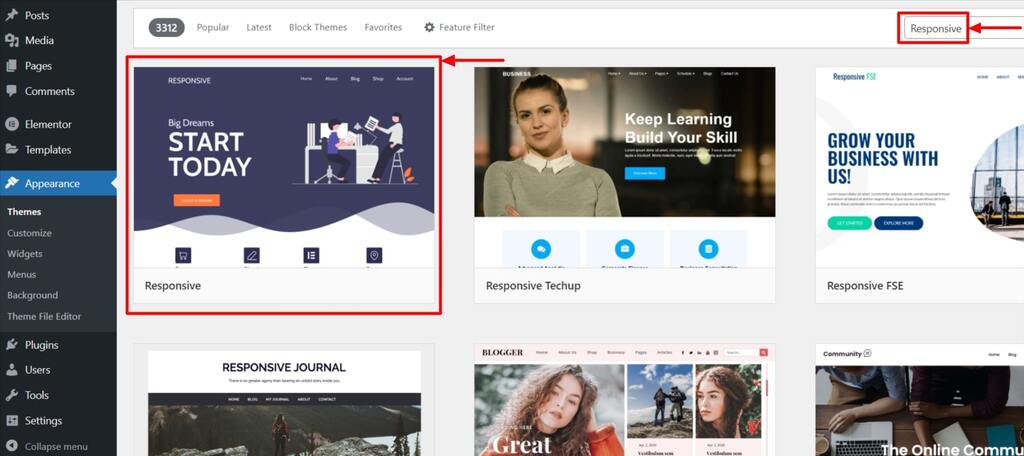
Go to “Appearance” > Then click on “Themes.”
Click on the “Add New” button at the top.
Search for “Responsive,” and select the “Install” button when the Responsive theme is highlighted.
Click the “Activate” button to activate the Responsive theme.
Step 4: Install Responsive Starter Templates Plugin
Add the Responsive Starter Templates plugin after you’ve set up the Responsive theme.
With this plugin, you can choose from 100+ templates that are already there and import them easily. You can customize the templates to make them suit your preferences.
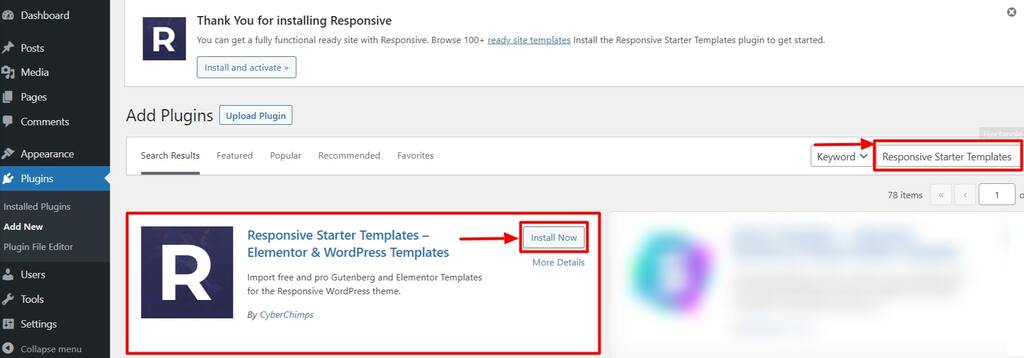
From your WordPress dashboard, select the Plugins menu and then hit “Add New.“
Go to “Install Now” after searching for “Responsive Starter Templates.“
“Activate” the plugin after that.
Step 5: Import The Photography Studio Template
Select “Responsive Templates” by hovering your mouse over “Responsive” in the WordPress interface.
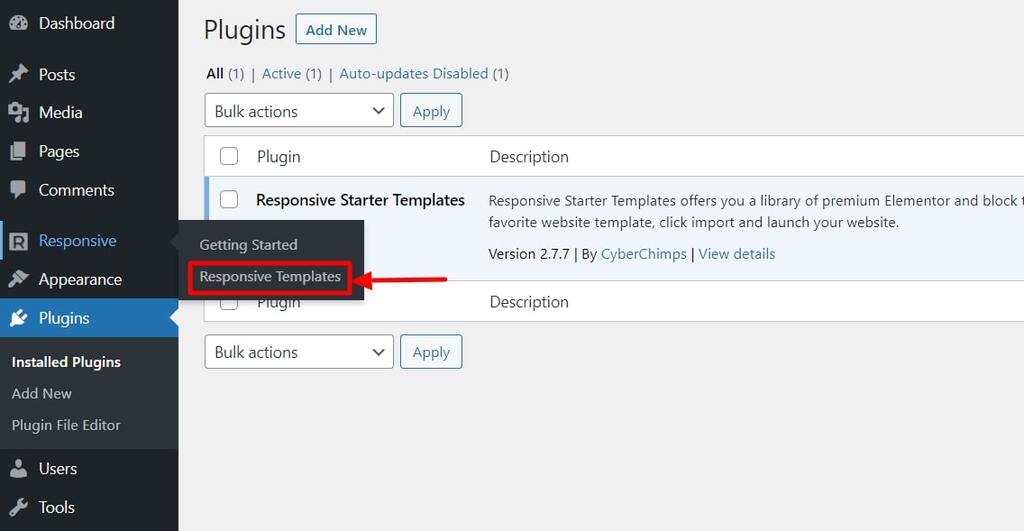
Search for “Photography studio” in the search bar, then choose the “Photography Studio” template.
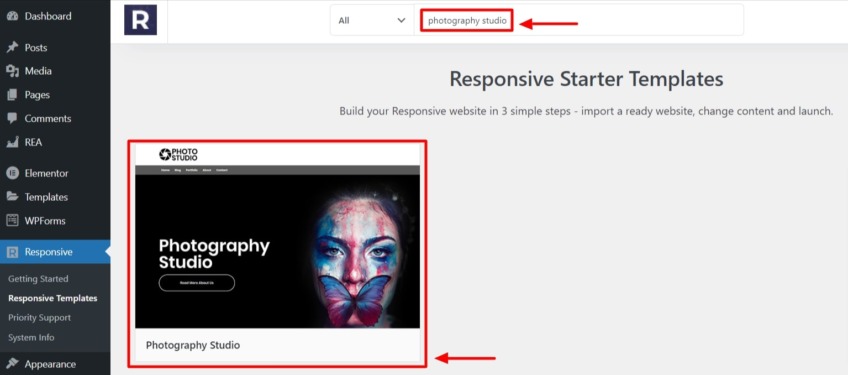
To import the template, select the “Import Site” button.
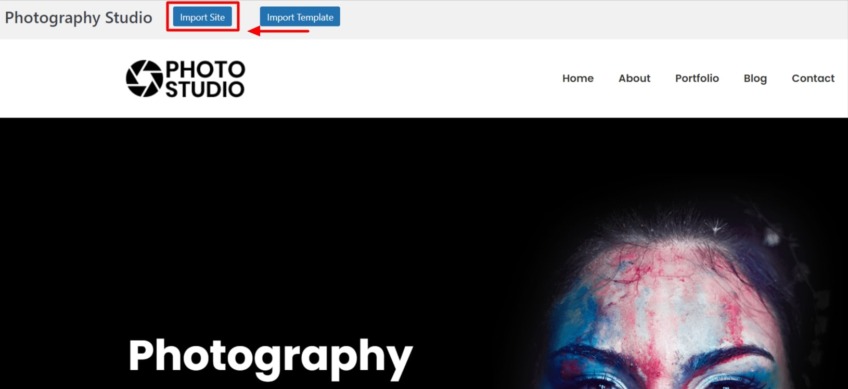
After importing, click on the “Launch Site” button to launch the photography studio template.

Step 6: Launch and Customize the Photography Studio Template
If you want your photography studio website to stand out from the crowd, you must customize the header and footer. The Theme Customizer tool makes this easy to do. You can customize the header and footer to match your brand and style.
To edit, click on the “Customize” button.
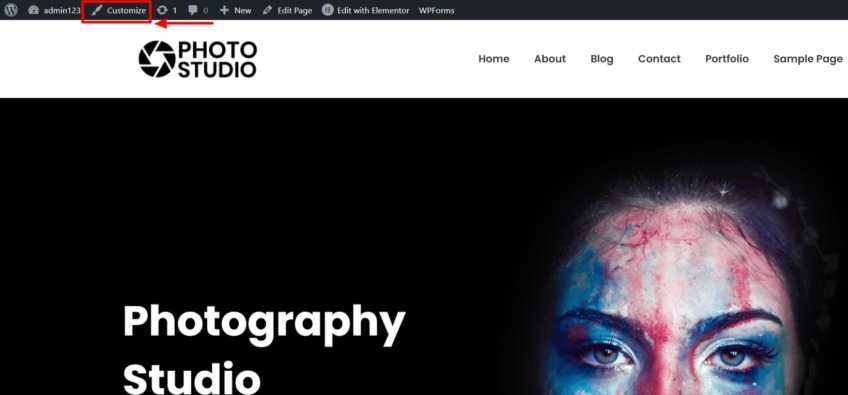
With the customization options, you can change various parts of your website, like menus, header, footer, site identity, and more.
Step 7: Edit Your Content with Elementor.
After you’ve finished customizing the header and footer, it’s time to make your website truly unique and personalized.
This can be done by adding and modifying the main content of your website, which can include text, photos, media, and more. Just follow these steps to make your changes.
Select “Edit with Elementor.“
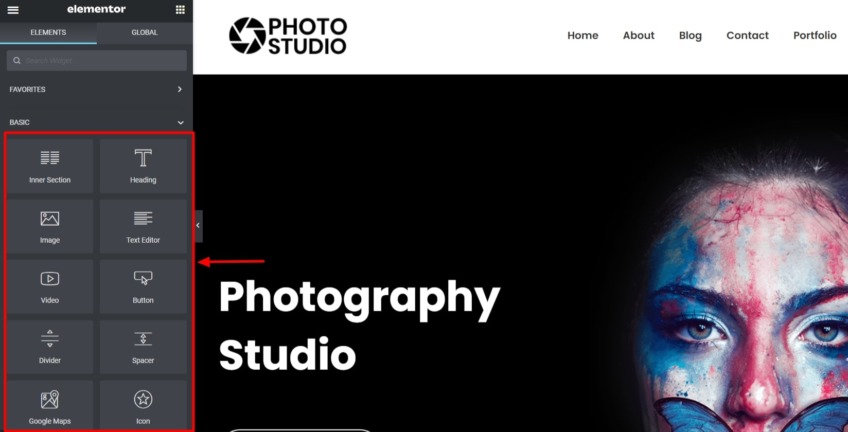
You can customize the look of your website by changing the typography, images, videos, buttons, and other elements. You can quickly edit the content you want to change by hovering over it.
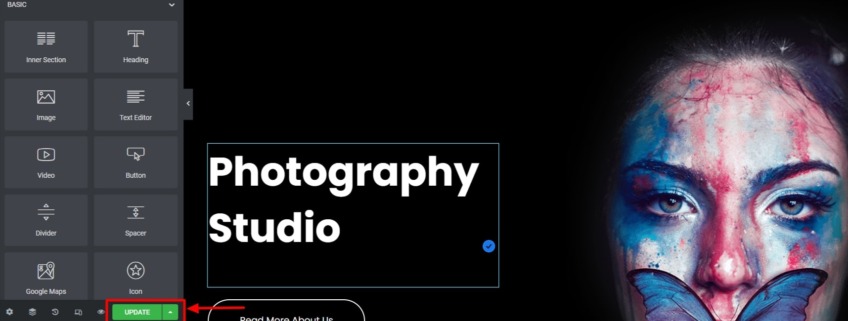
Step 8: Publish Your Photography Studio Website
When you’re finished adding content and making changes to your website, the last step is to make it public. To publish your photography studio website and to connect with your fans, click on the “Update” button.
Conclusion
To summarize, creating a photography studio website with WordPress can be a rewarding and enjoyable experience.
Using a hosting provider like Kinsta and a fantastic theme like Responsive, you can create a professional and effective photography studio website in just a few minutes.
Hope you enjoyed reading this article. If you did, don’t forget to check our other similar articles:
- Best WordPress Photo Gallery Plugins
- Best WooCommerce Plugins For Your Online Store
- Best WordPress Themes for Cars and Automobiles
Go ahead and start creating your Photography Studio website today using the Responsive Theme!
Leave a Reply