How To Create A Real Estate Website in 2026? (Without Coding)

Do you want to know how to create a real estate website?
A professional and engaging real estate website helps you showcase all your properties with photos and all other necessary information. This allows you to generate leads and close more sales, helping you stand out in a crowded market.
Fortunately, you don’t have to be a web developer to create a great real estate website. This how-to guide will help you build a real estate website quickly and easily without coding.
Let’s get started!
Which Website Builder Is Best for Creating a Real Estate Website?
Many popular no-code site builders exist, including Wix, Squarespace, Bubble, Webflow, and Glide. However, we recommended using WordPress to create a real estate website, especially for beginners, because it is:
- User-friendly: WordPress makes it easy for beginners to create and manage content on their website with an easy-to-navigate interface.
- Easy to Setup: WordPress comes with various pre-built templates and themes, so you can create a website almost instantly without any coding experience.
- Customizable: While WordPress is easy to use out of the box, you can customize and add functionality easily to meet your needs.
- Community Support: WordPress being the most popular site builder, has many online resources, tutorials, and forums available to help beginners get started.
- Scalability: WordPress is scalable, which means that as your website grows, you can add new features and functionality to meet your changing needs.
- Capability: WordPress can handle large amounts of traffic, with many plugins available to help you optimize your website’s performance.
So whether you’re a real estate agent, broker, property manager, developer, architect, or real estate builder WordPress will have you covered.
How To Create A Real Estate Website Using WordPress?
A real estate website can be a powerful tool for agents, brokers, investors, and property managers to showcase their listings, market their services, and connect with potential clients.
In this guide, we’ll walk you through the steps to create a real estate website using WordPress in eight easy steps.
Step 1: Choose A Hosting Provider And Domain Name
The first step in creating a real estate website is choosing a hosting provider and domain name.
Your hosting provider is where your website will be stored, and your domain name is the address people will use to access your site.
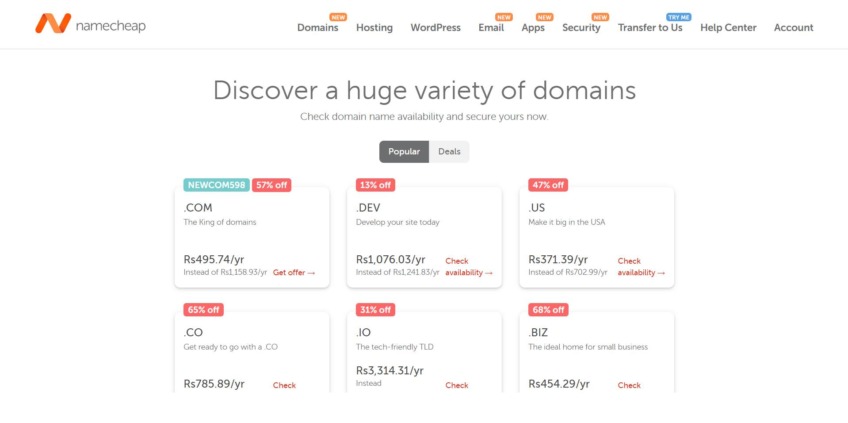
There are many domain name registrars out there. However, we recommend Namecheap for its affordable pricing plans, good customer support, and beginner-friendly interface.
When choosing a hosting provider, look for one that offers fast page load speeds, high uptime, and excellent customer support, such as Kinsta.

Once you’ve chosen a hosting provider, you must select a domain name. Ideally, your domain name should be easy to remember, easy to spell, and relevant to your business.
Consider using your company name or keyword that relates to your business. For example, if you specialize in luxury properties, you could use a domain name like LuxuryProperties.com.
Step 2: Install WordPress
The next step is to install WordPress. Many hosting providers offer one-click installations of WordPress, making the process quick and easy.
If your hosting provider doesn’t offer this feature, you can download the WordPress software from the official WordPress website and install it manually.
Once WordPress is installed, you can log in to your dashboard and customize your site.
Step 3: Choose A Theme For Your Website
A theme defines the basic appearance of your website, including all the basic architectures, page layouts, and a website design, including its fonts and colors.
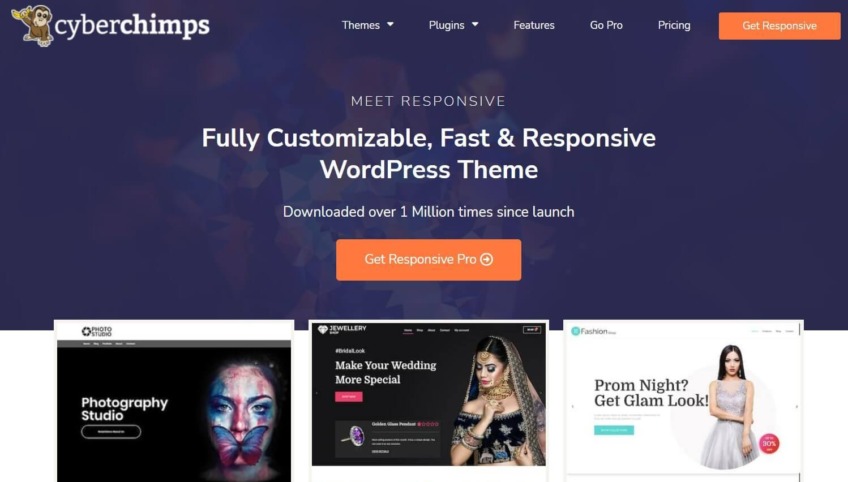
Install the Responsive theme, a blazingly fast, SEO-friendly theme with access to multiple plugins, addons, and 100+ website templates to instantly set up a real estate website.
Let’s see how to install the Responsive theme.
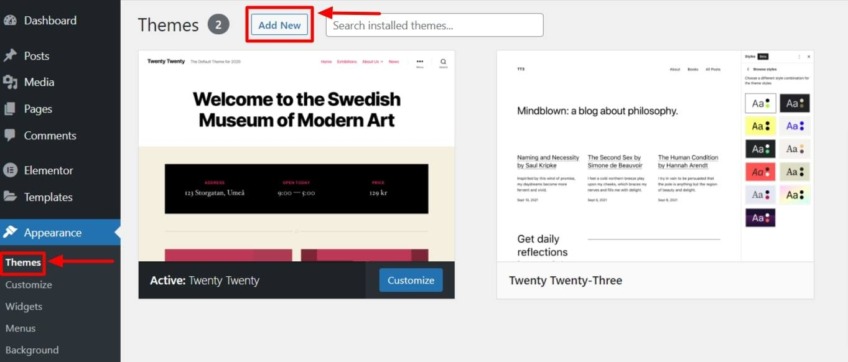
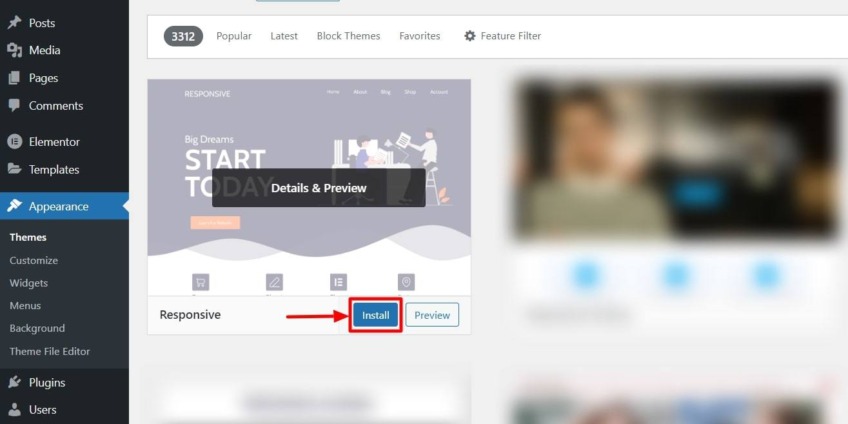
From your WordPress dashboard, go to Appearance > Themes > Add New.
Search for “Responsive” in the search bar option.
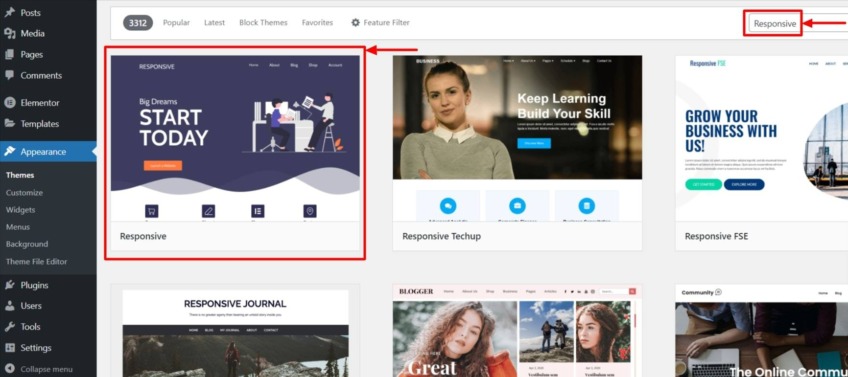
Hover over to the theme and click on the “Install” button.
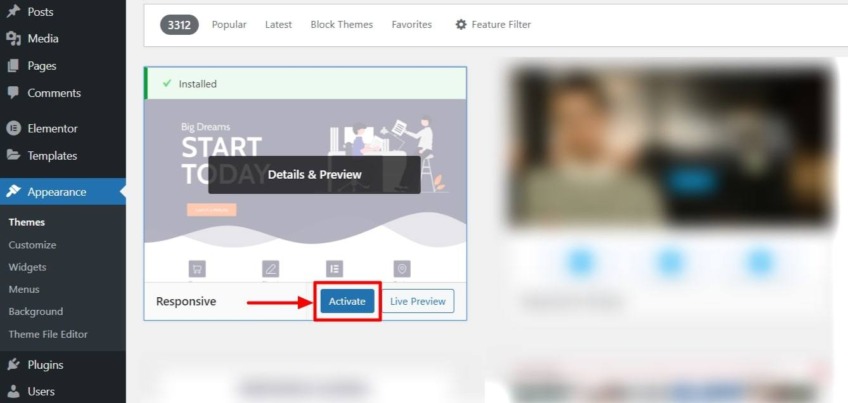
The next step is to click on the “Activate” button.
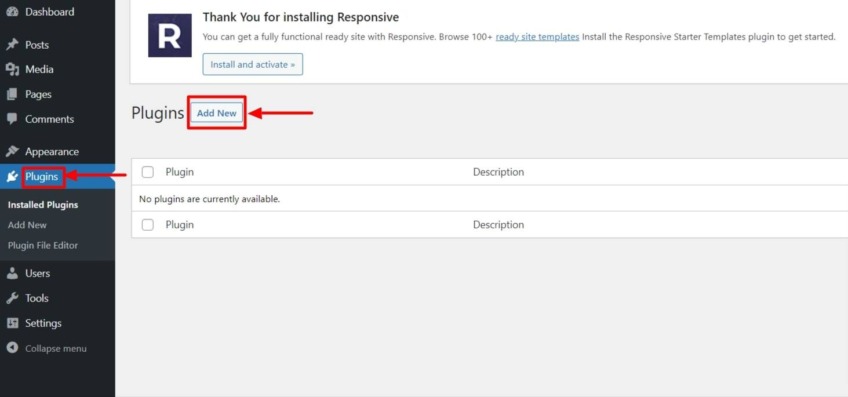
Step 4: Install the Responsive Starter Templates Plugin
After installing and activating the Responsive theme, you must install the Responsive Starter Templates Plugin, giving you access to a repository of over 100+ starter templates.
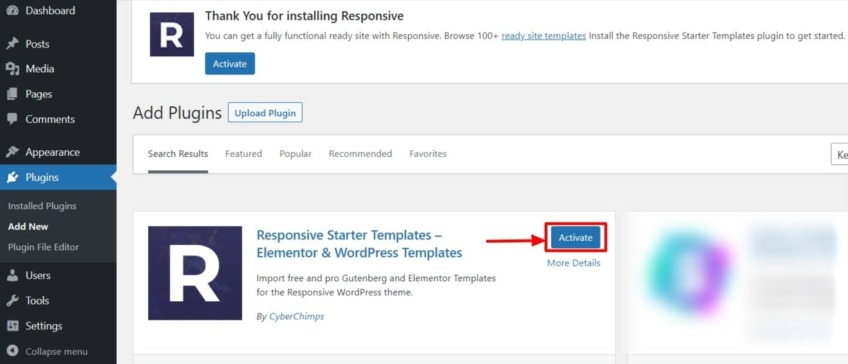
To install this, go to your WordPress dashboard, and select Plugins > Add New.
Search for “Responsive Starter Templates” and click the “Install” button.
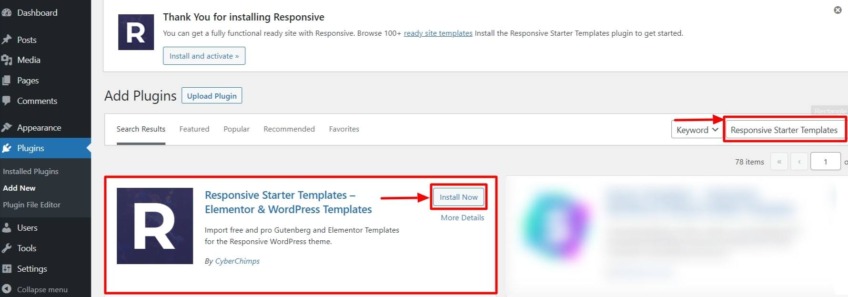
Once installed, click on the “Activate” button.
Step 5: Import a Real Estate Template
Now that you’ve installed the Responsive Starter Templates Plugin, you get access to a range of pre-made templates to help you get started with your real estate website.
To install a real estate template from Responsive:
Go to the “Responsive” menu and click the “Responsive Templates” menu.
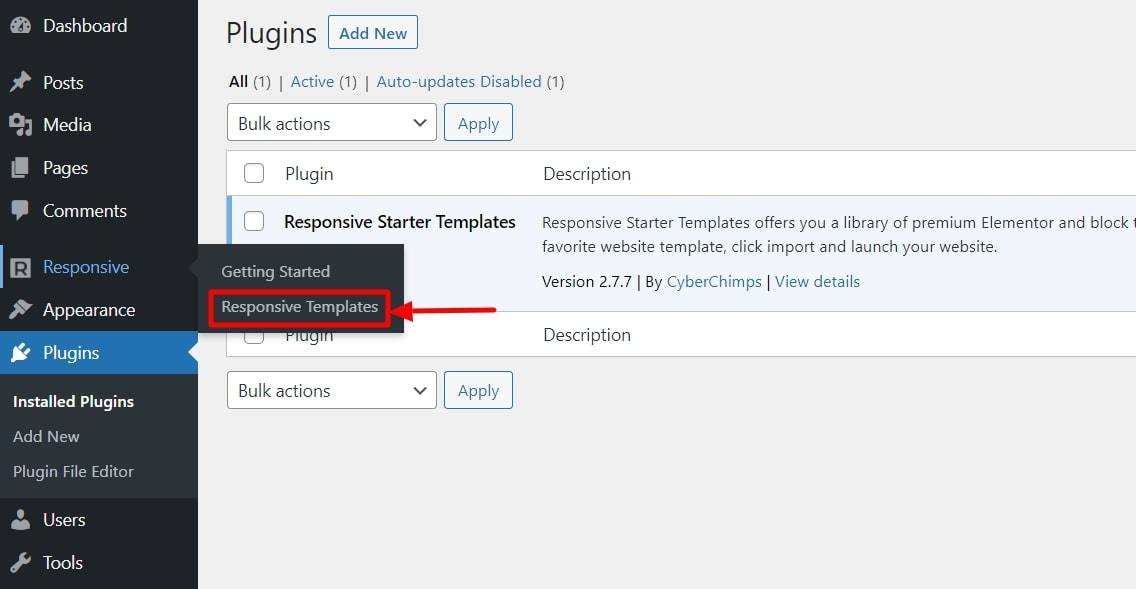
This will open up the 100+ free and premium Responsive Starter Templates list within your WordPress dashboard.
Now, search for “Real Estate” in the search bar, and click on the “Real Estate” template

Click on the “Import Site” button.
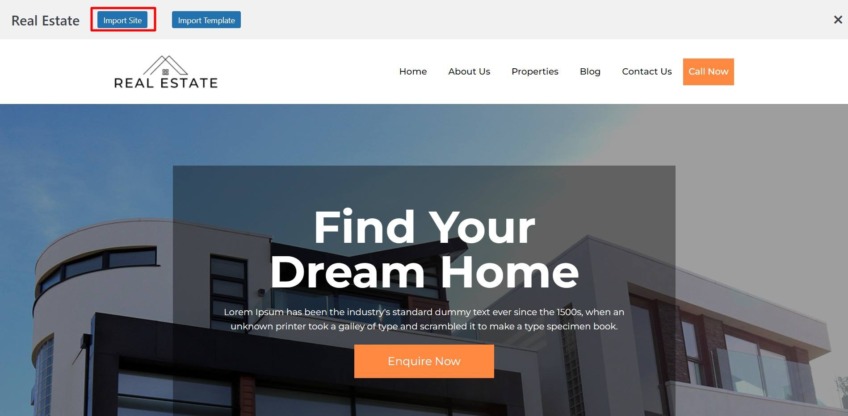
After Importing, click the “Launch Site” button to launch the real estate template.
Step 6: Edit your Header & Footer with Theme Customizer
Once you launch the template, you can choose from different settings to customize the header and footer of your ready-made real estate website to fit your needs.
To edit the theme settings, click on the “Customize” button.

Here, you’ll get all the settings to make theme-related styling settings.
You can also add, remove, and edit logos, pages, menus, and other content using the same menu options.
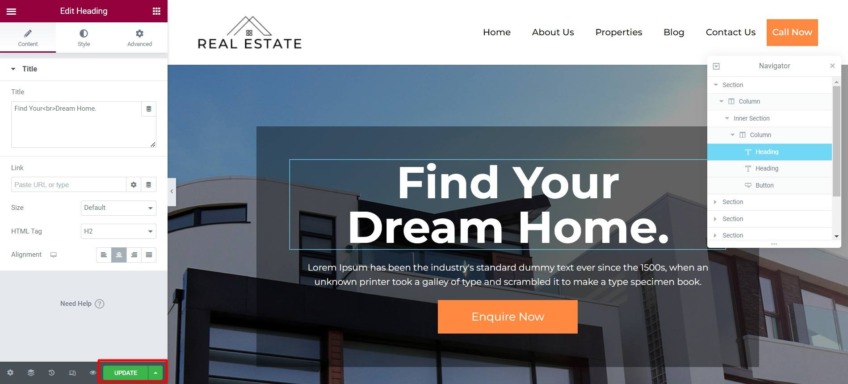
Step 7: Edit Your Content with Elementor
Once the header and footer are customized, it’s time to make your website truly unique and personalized.
You can do this by adding and editing the main content of your website, such as text, photos, media, and more. To do this, all you have to do is follow these steps.
Click on “Edit with Elementor”
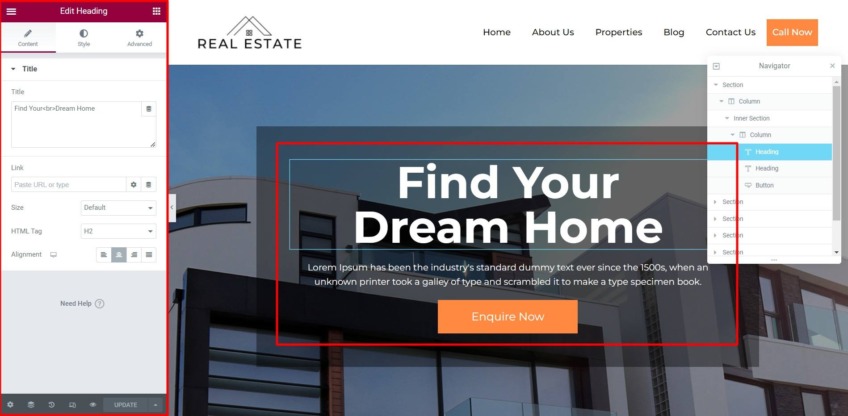
You get various options to customize your website, like the typography settings, images, videos, buttons, and much more. Simply hover over the content you like to edit and quick changes on the go.
Step 8: Publish Your Music Website
Once you have customized the content of your website, review it and click on the “Update” button. Your Real Estate website is now live and ready to receive traffic.
Wrapping Up
Creating a real estate website with WordPress is an easy and straightforward process with the easy-to-use Responsive WordPress theme.
Following the steps outlined in this guide, you can create a professional-looking website that showcases your properties and services, captures leads, and promotes your business online.
Remember to choose a reliable hosting provider, select a theme for real estate websites, install essential plugins, create engaging content, and optimize your website for search engines and social media.
With a little effort and creativity, you can create a real estate website that stands out in a competitive market and helps you achieve your business goals.
If you enjoyed this article, check out:
- Best SEO WordPress themes
- Creative Free WordPress Themes for Artists
- Best Pub & Bar WordPress Themes
Ready to get started? Check out the Responsive Theme free Real Estate template and start building your real estate website today!
Leave a Reply