How to use Linear WordPress theme for highly customizable widgets

Linear is a sleek, minimal and responsive theme for your WordPress site. Linear theme has highly customizable widgets with numerous options.
Here’s a step-by-step guide for configuring the Linear theme for highly customizable widgets.
For highly customizable widgets, Install Linear theme.
1. Download the linear.zip file & unzip to themes folder located at
/wordpress/wp-content/themes
2. Go to WordPress Dashboard -> Appearance -> Themes

3. Activate Linear theme.
4. Go to WordPress Dashboard -> Appearance -> Theme Options

Customizing Linear theme for highly customizable widgets
1. General : Customize the general settings of your theme for the website.
General -> Sitename | Appearance | Posts | Social buttons | Copyright
Sitename : Manage the sitename of your site.
- Sitename : Enter your custom sitename text.
- Description Text : Enter your custom site description text.
[image goes here]
Appearance : Manage the appearance of your site.
- Highlight Color : Choose any color for highlight.
- Custom CSS : Enter any custom CSS here to apply it to your theme.
[image goes here]
Posts : Manage the posts settings of your site.
- Social AddTo Buttons : Enable / disable the AddToAny social buttons on each post.
- Post Navigation : Enable / disable post navigation links under your posts.
- Date Format : Select a date format to be globally used.
- Commenting System : Select a commenting system to use.
- Disqus : Add your UNIVERSAL CODE to activate Disqus comments.
[image goes here]
Social buttons : Manage the social buttons settings for your site.
- Facebook : Add the full URL to your Facebook page.
- Twitter : Add the full URL to your Twitter page.
- YouTube : Add the full URL to your YouTube page.
- Instagram : Add the full URL to your Instagram page.
- Dribbble : Add the full URL to your Dribbble page.
- Pinterest : Add the full URL to your Pinterest page.
[image goes here]
Copyright : Manage the copyright text for your site.
- Copyright text : Add your custom copyright text (basic HTML is allowed for linking).
[image goes here]
Click Save changes when done.
[image of result of the changes]
2. Lead : Manage the Lead settings for your site.
Lead -> Lead Widget
Lead Widget : Create / manage the Lead widget on your site.
- H1 Header : Specify a custom H1 Heading text.
- H2 Header : Specify a custom H2 Heading text.
- Image URL : Specify a full URL to your chosen image.
- Button Text : Specify a custom button text.
- Destination : Specify a full destination URL of the lead widget button.
[image goes here]
Click Save changes when done.
[image of result of the changes]
3. Welcome : Manage the welcome settings of your site.
Welcome -> Welcome Widget
Welcome Widget : Create / manage the welcome widget of your site.
- H1 Header : Specify a custom H1 Heading text.
- Image URL : Specify the full URL to your chosen image.
- Text : Add your custom body text.
- Button Text : Add your custom button text.
- Destination : Add the full destination URL of the welcome widget button.
[image goes here]
Click Save changes when done.
[image of result of the changes]
4. Features : Manage the features settings of your site.
Features -> Feature Widget (Column 1) | Feature Widget (Column 2) | Feature Widget (Column 3) | Feature Widget (Column 4)
Feature Widget (Column 1) : Create / manage the feature widget (Column 1) of your site.
- H3 Header : Add your custom H3 Heading text.
- Image URL : Add the full URL to your chosen featured image (square images work great!).
- Text excerpt : Add your custom excerpt of text that appears when you mouseover the above image.
- Destination : Add the full destination URL for this feature.
[image goes here]
Feature Widget (Column 2) : Create / manage the feature widget (Column 2) of your site.
- H3 Header : Add your custom H3 Heading text.
- Image URL : Add the full URL to your chosen featured image (square images work great!).
- Text excerpt : Add your custom excerpt of text that appears when you mouseover the above image.
- Destination : Add the full destination URL for this feature.
[image goes here]
Feature Widget (Column 3) : Create / manage the feature widget (Column 3) of your site.
- H3 Header : Add your custom H3 Heading text.
- Image URL : Add the full URL to your chosen featured image (square images work great!).
- Text excerpt : Add your custom excerpt of text that appears when you mouseover the above image.
- Destination : Add the full destination URL for this feature.
[image goes here]
Feature Widget (Column 4) : Create / manage the feature widget (Column 4) of your site.
- H3 Header : Add your custom H3 Heading text.
- Image URL : Add the full URL to your chosen featured image (square images work great!).
- Text excerpt : Add your custom excerpt of text that appears when you mouseover the above image.
- Destination : Add the full destination URL for this feature.
[image goes here]
Click Save changes when done.
[image of result of the changes]
5. Static : Manage the static content settings of your site.
Static -> Static Contents Widget (Column 1) | Static Contents Widget (Column 2)
Static Contents Widget (Column 1) : Manage the static content widget (Column 1) of your site.
- H3 Header : Add your custom H3 Heading text.
- Image URL : Add the full URL to your chosen image.
- Text : Add your custom body text.
- Button text : Add your custom button text.
- Destination : Add the full destination URL of the above button.
[image goes here]
Static Contents Widget (Column 2) : Manage the static content widget (Column 2) of your site.
- H3 Header : Add your custom H3 Heading text.
- Image URL : Add the full URL to your chosen image.
- Text : Add your custom body text.
- Button text : Add your custom button text.
- Destination : Add the full destination URL of the above button.
[image goes here]
Click Save changes when done.
[image of result of the changes]
6. Blog : Manage the blog settings for your site.
Blog -> Blog Latest Widget
Blog Latest Widget : Create / manage the blog latest widgets on your site.
- H1 Header : Add your custom H1 Heading text.
- Post Info : Show / hide the date and author information.
- Post Image : Show / hide the attached featured image of the post.
- Post Excerpt : Show / hide an excerpt of text from the post.

Click Save changes when done.
[image of result of the changes]
7. Tables : Manage the table settings for your site..
Tables -> Pricing Tables Widget | Left Table | Middle Table | Right Table
Pricing Tables Widget : Create / manage the pricing tables widget on your site.
- H1 Header : Add your custom H1 Heading text.
- Text : Add your custom body text.
- Sub-text : Add your custom sub-text (positioned under the tables).

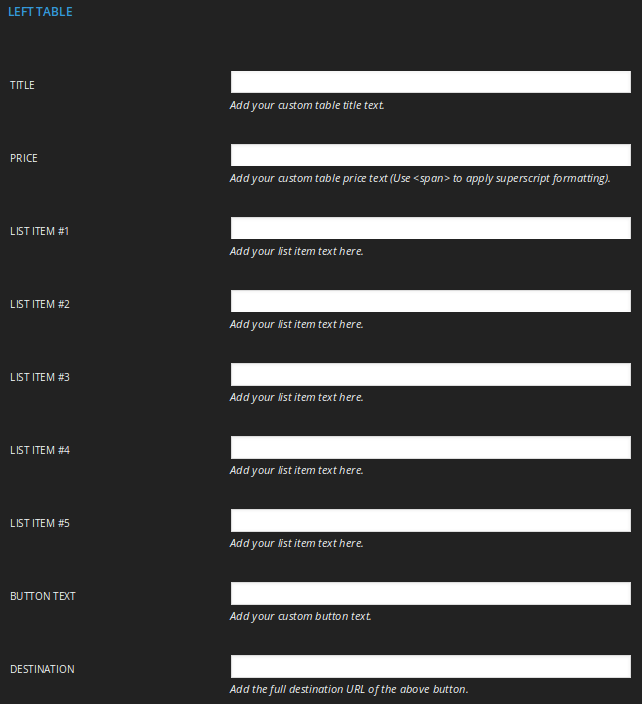
Left Table : Manage the left table settings for the pricing table widget.
- Title : Add your custom table title text.
- Price : Add your custom table price text (Use to apply superscript formatting).
- List Item #1 : Add your list item text here.
- List Item #2 : Add your list item text here.
- List Item #3 : Add your list item text here.
- List Item #4 : Add your list item text here.
- List Item #5 : Add your list item text here.
- Button text : Add your custom button text.
- Destination : Add the full destination URL of the above button.
Middle Table : Manage the middle table settings for the pricing table widget.
- Title : Add your custom table title text.
- Price : Add your custom table price text (Use to apply superscript formatting).
- List Item #1 : Add your list item text here.
- List Item #2 : Add your list item text here.
- List Item #3 : Add your list item text here.
- List Item #4 : Add your list item text here.
- List Item #5 : Add your list item text here.
- Button text : Add your custom button text.
- Destination : Add the full destination URL of the above button.

Right Table : Manage the right table settings for the pricing table widget.
- Title : Add your custom table title text.
- Price : Add your custom table price text (Use to apply superscript formatting).
- List Item #1 : Add your list item text here.
- List Item #2 : Add your list item text here.
- List Item #3 : Add your list item text here.
- List Item #4 : Add your list item text here.
- List Item #5 : Add your list item text here.
- Button text : Add your custom button text.
- Destination : Add the full destination URL of the above button.

Click Save changes when done.

8. Action : Manage the action widget for your site.
Action -> Action Widget
Action Widget : Create / manage a action widget for the site.
- H1 Header : Specify a custom H1 Heading text.
- Text : Specify a custom text for the body.
- Button text : Specify a custom text for the action widget button.
- Destination : Specify the full destination URL of action widget button.
- CF7 Shortcode : Add your ContactForm7 shortcode to replace the action widget button.

Click Save changes when done.

9. Social : Manage the social profile connections on your site.
Social -> Social Widget | Facebook API | Twitter API
Social Widget : Select a social layout for connecting to your site.
- Layout : Choose from Facebook / Twitter or select both Facebook & Twitter.
Facebook API : Add your Facebook API details.
- Facebook username : Specify your Facebook username.
Twitter API : Add your Twitter API details.
- Twitter username : Specify your Twitter Screen Name.
- Consumer Key : Specify your Twitter Consumer Key.
- Consumer Secret : Specify your Twitter Consumer Secret.
Click Save changes when done.

10. Misc : Manage the miscellaneous settings for the theme.
Misc -> SEO | Fluffy stuff | Analytics
SEO :
- Meta Description : Add your custom META description text.
- Meta Keywords : Add your custom META keywords, separated by commas.
[image goes here]
Fluffy stuff :
- Nicesroll.js : Enable / disable a smooth scroll effect to your browser.
- Animate.css : Enable / disable animations to your CSS.
- Wow.js : Enable / disable viewport delays to Animate.css animations.
- Backtop.js : Enable / disable smooth sliding back to top button.
- Tooltips.js : Enable / disable jQuery tooltips..
[image goes here]
Analytics : Use your analytics tracking code for your website. This is optional.
- Tracking Code : Add your analytics tracking code.
[image goes here]
Click Save changes when done.
[image of result of the changes]
So that’s pretty much what you need to know in order to use the Linear theme effectively. For a live demo of the Linear Wordpress Theme.
Linear theme for highly customizable widgets is a stunning option for your sites.

Looks nice, but scrolling and navigating is too slow, not responsive enough. If I visited that website looking for information I would leave within 30 seconds, annoyed that my scrollwheel was scrolling down at about half-speed and flipping between pages takes a second longer than it should. Too many fades or db lookups? Not sure, but defintely feels “laggy.”
hello
I can’t open the theme tabs in Customizing Linear Theme
The only one that opens is ‘general’.
Please help as I want to use the widgets
Kind regards
Al
Thanks for letting me know, Alan. I will make sure the WPEka Support team creates a ticket on your behalf and helps you sort this out.
@Mark – Thanks so much for your feedback. You are right, the images used in the demo are really heavy and that might be slowing things down.
Can you please let me know what browser you are using ? Are you viewing this on your mobile ?
Would appreciate it if you could please share details via support[at]wpeka[dot]com.
Thanks !
Love the theme but how can I increase the size of the logo?
Hi Anthony,
By default the theme supports the resolution of 124×50 for the logo. In case you need to resize the logo, you need to change the max-width & max-height properties for .img_logo class located at line no. : 553 in
/wp-content/themes/linear/css/core.css
.img_logo {
max-width: 10em;
max-height: 50px;
} // Here you can set the width & height as per your requirements
I hope this helps. Please feel free to contact our support team if you need any help with anything.
Cheers
I wish that there were demos to view what the themes look like. If you could place some demos that would be great. Thanks.
Hi Tereza,
I agree. We are in the process and will provide with you demo link soon 🙂