How to use WP Message plugin

Send messages directly from your WordPress dashboard with WP Message. With WordPress messaging plugin – Users can send messages to each other using their site user names.
Installing WP Message plugin
1. Download the Wp_message.zip file & unzip to plugins folder located at
/wordpress/wp-content/plugins
2. Go to WordPress Dashboard -> Plugins -> Installed Plugins
3. Activate WP Message.
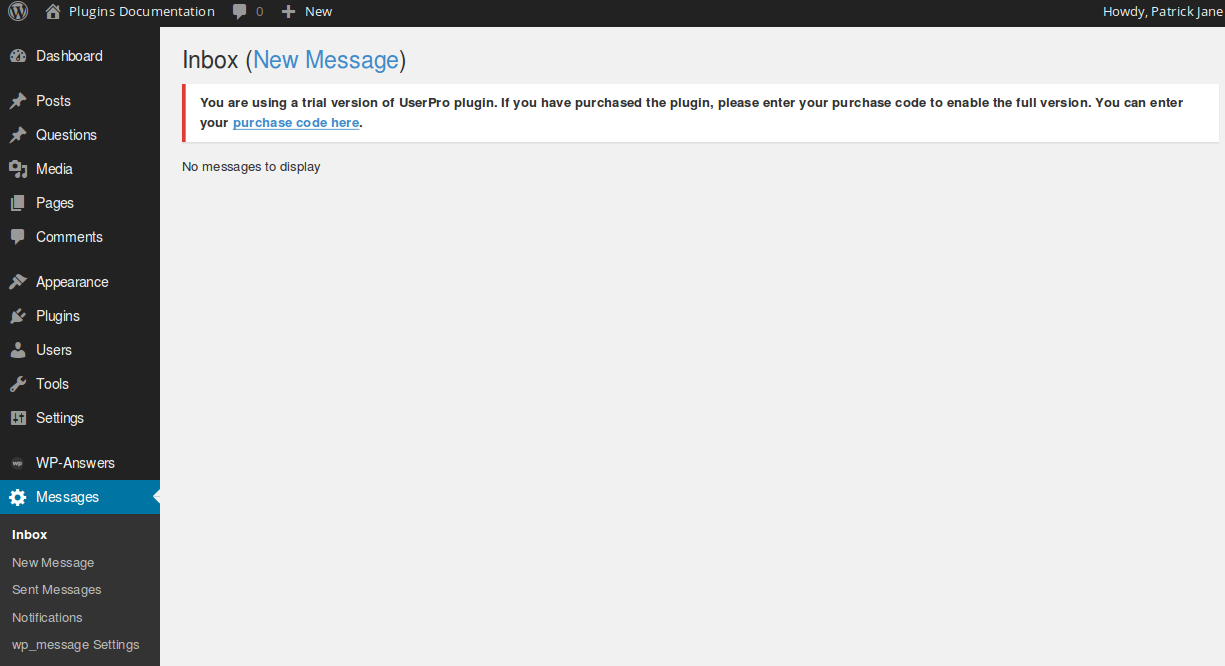
4. Go to WordPress Dashboard -> Messages
Managing WP Message
Note : In this version you need to know the usernames of all users you want to communicate to for using this plugin.
1. Go to Messages -> Notifications to enable/disable the Receive an email notifying you of new messages. Select Yes. This is applicable to the administrator & the current user.
Remember : The notification email content can only be set by the administrator.
2. Go to Messages -> Settings to change the notification email content.
Variables that can be used in the email that are auto filled are as follows :
2.1 SITE_NAME : The name of the website.
2.2 TO_USER : user name the mail is sent to.
2.3 FROM_USER : user name the mail is sent from.
2.4 SITE_NAME : The name of the website
2.5 SITE_URL : The URL of the website.
Click Save Changes when done.
3. Go to Messages -> New Message to send a new message. You can add media to your email too. Click Send when you are finished composing the message.
4. Go to Messages -> Sent Messages to view all the sent messages.
5. Go to Messages -> Inbox to view all the received messages.
6. View/Reply to the messages. Check the box to remove message(s).
Note : The deleted messages are permanently deleted so be careful when removing a message.
So that’s pretty much what you need to know in order to use WP Message plugin effectively. If you know of any other tips that I may have missed, do let me know by leaving a comment here.
You can add a complete messaging functionality to your multisite environment with WP Message.


Leave a Reply